How to build the raised garden bed for your home Part 1
We were fortunate to have access to woods and timber for
building our raised beds but if you don’t have that kind of access here is an
idea for building your own.
 |
| http://www.gazatimber.co.uk/wp-content/uploads/Raised-Beds-Made-Easy.jpg |
The above concept is a basic concept that can be built in a
day. Note the type of wood used; cedar or redwood will be the best wood for
this project. You should not use treated wood, you don’t want the chemicals
from the treated wood getting into your tasty vegetables! Something this plan
does not show but definitely worth considering, take and place 3 pieces of ½ inch
pvc piping on the side of each wall (on the inside), attaching them with 1”
galvanized tube straps. You can place
each piece of pvc at a corner and one in the middle on each side. Having these tubes in your beds will allow you
to add a hoop over the bed for extended growing, creating a mini hoop house. The
first step before building is to select the area in your yard where you are
going to place the raised beds. Select an area that will get optimum sunlight
and access to water. The second
important step is preparing the ground where the bed(s) are to be placed. You
want the ground underneath to be level and it is advantageous to clear the area
of grass or other growing matter. Contrary to what the above diagram shows; dig
4 holes where you are going to place the beds and instead of having the corner
post stick up by 7 ½ inches place the bed with those corner post going into the
holes you dug. This will help to secure the bed. The next step is to gather the soil, compost
and other soil building nutrients for your garden; by doing this you will be
able to fill your raised bed as soon as it is completed.
Soil
Good soil comes from a variety of ingredients but first and
foremost is compost. Did you know you probably
throw away every day a lot of compostable material? Contrary to what most
people think; a compost pile does not smell when handled correctly. Even more
importantly there are barrels available that turn on wheels and are somewhat
sealed up; these are efficient for quickly turning your household waste into
great compost!
 |
| http://www.homedepot.com/p/Good-Ideas-EZ-Wizard-52-gal-7-0-cu-ft-Hybrid-Composter-with-Rain-Barrel-EZWHGRN/202071533?cm_mmc=Shopping%7cBase&gclid=COz5sMPo_8QCFQwDaQodQSwAUg&gclsrc=aw.ds |
The significance of building great nutrients in your soil
cannot be stressed enough! The beauty of a raised bed is that those nutrients
you are building will not wash away in a heavy rain or in the watering process.
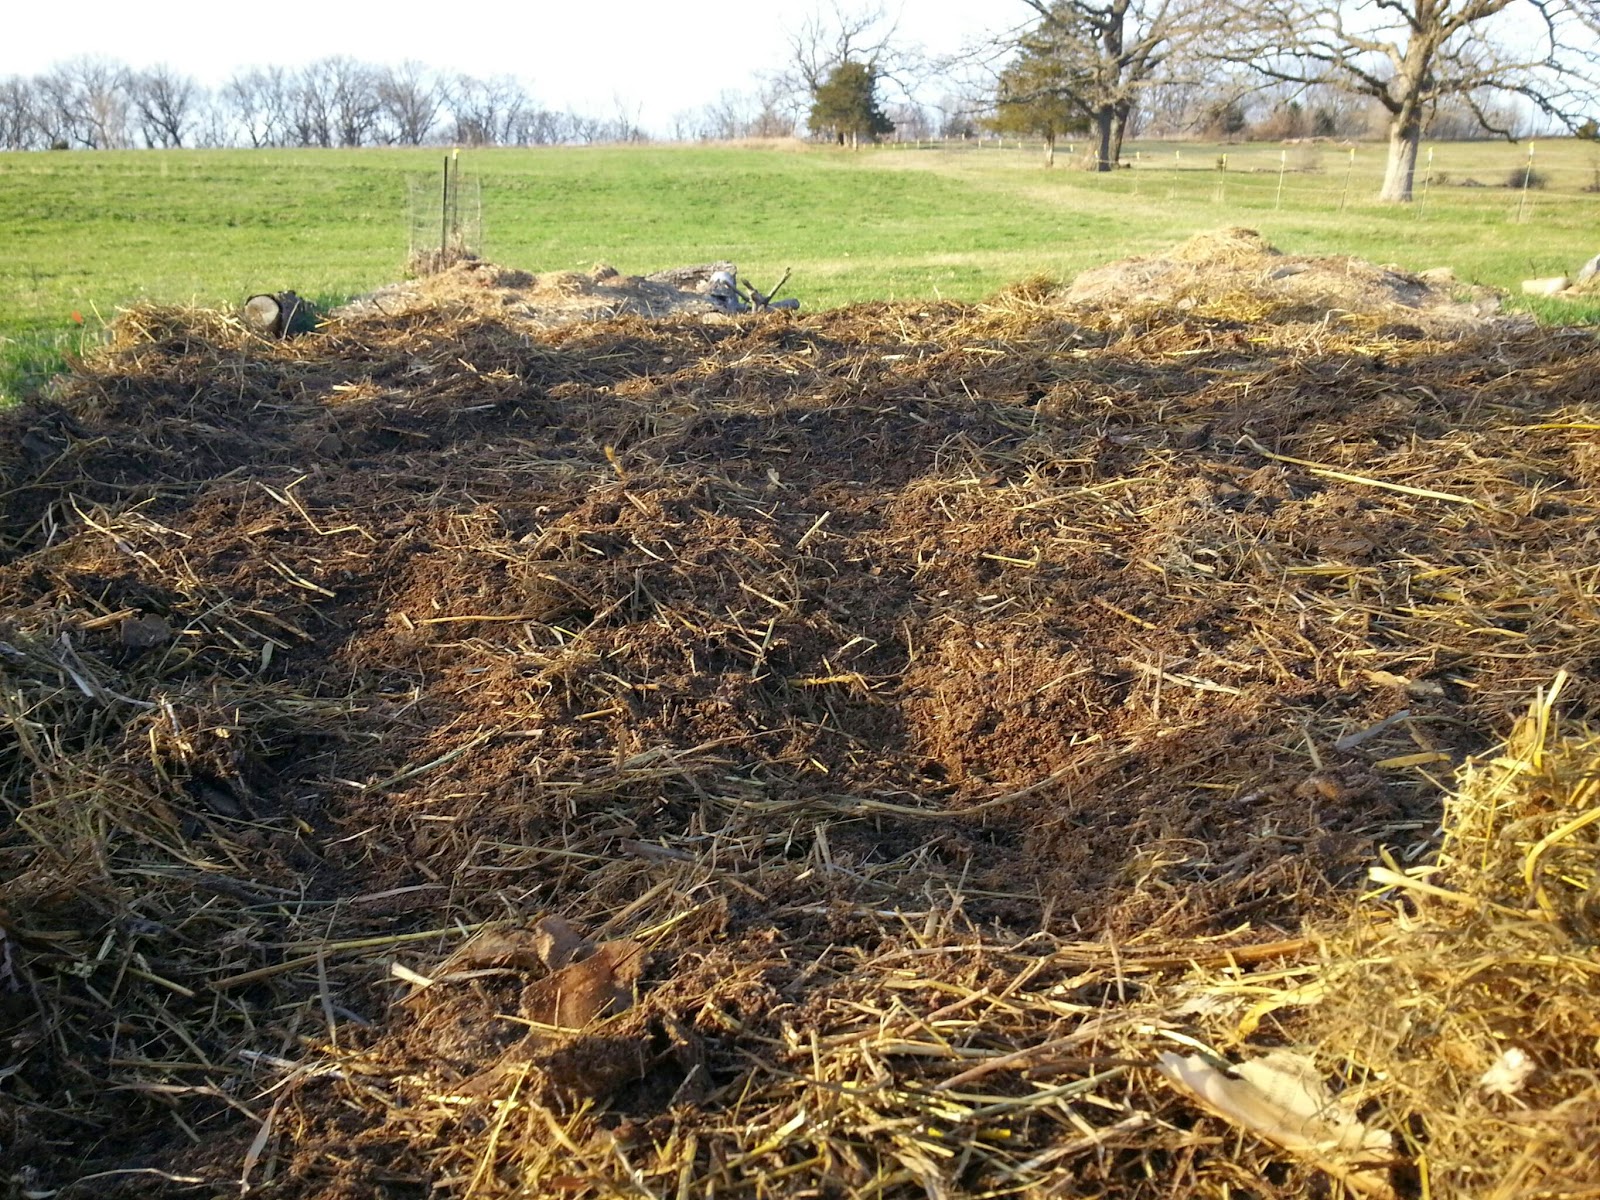
Starting the soil process in the beginning with an empty bed,
can be part of the process to having good soil in future growing seasons. The first layer on the bottom of the bed can
be some larger or more difficult items to break down under normal composting
conditions. This can be wood from branches off of a tree, or dried leafy
material. You want to create layers throughout your soil something like this:
·
Start with cardboard by placing it on top of the
wire mesh screen at the bottom of the bed
·
Next lay down some newspaper
·
Next some larger carbon matter such as limbs
from branches or woody fibrous material
·
Now if you have access place hay or straw
·
Now add cured, dried manure (if you have access
to manure from a local farm make sure it has sat for a year and is dry. Fresh
manure is not good to use and aside from being too strong it can present other
unsafe problems. If you cannot be sure,
you can create an area in your yard to store the manure, covered tightly and
allow it to sit for a year.
·
More hay or straw
·
Soil mixed with compost
·
Finally once the garden is planted add mulch, I
like to use hay for my mulch but if you don’t have access use straw.
From this point forward you can now add yearly compost,
manure and more mulch. At the end of each growing season you might want to
consider a winter cover crop or setup your hoop house and continue your growing
during the early cold months. Once it becomes too cold cover the bed completely
with mulch. The importance of adding
nutrients to your garden cannot be stressed enough, if you add natural
nutrients and stay away from chemicals you will find yourself learning about
good soil building and have a further understanding of producing safe food for
your family. Learning about cover crops
is another key to adding great nutrients to your raised beds; cover crops can
reduce unwanted weeds, manage some pest and provide pollen for those pollinators!
Cover crops give back much needed
nitrogen to the soil and assist in the managing of the beds. Some examples are found in the legumes, like
rye, winter wheat, alfalfa and even buckwheat!
Once you have built your beds and filled them with nutritious
soil and other great matter it is time to plant! Think about growing vegetables
that your family enjoys and start with what you can manage for eating once they
are harvested. The latter is important
as you will need a plan for all of those vegetables as they come to harvest!
We rent out a house near us and this year we are have asked our tenant if they would like a raised bed garden? They have agreed to the maintenance of having a raised bed garden so we are going to build one or two for them and set them up. I will document our project for my blog and thus you might find yourself wanting to do the same! The upside for them will be fresh veggies for the house and at the same time they will be learning a very important lesson in how to have your own food plot in a small space!


